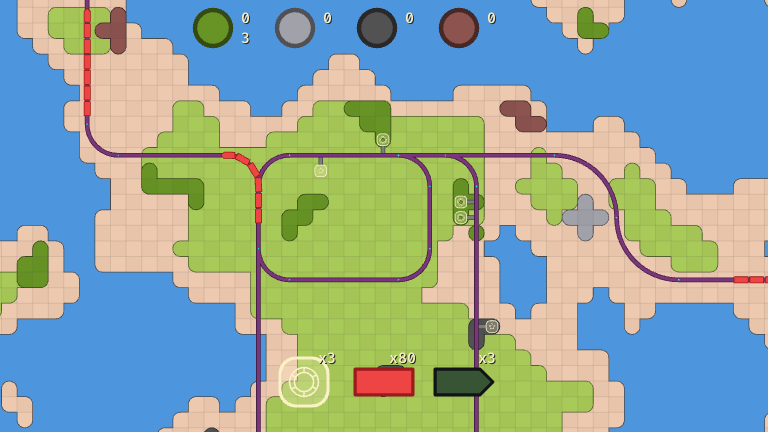
Over the last year and a half, I've made a few prototype games. Two of them were not very good, but one has actually been fun to play. In this game, you manage a network of trains to gather resources and deliver them to get upgrades. The small gameplay loop has worked for development, but the 2D boxes have been a little uninspiring, even if they are colourful.
So, I'm taking things into the third dimension! To start, I want to make something that looks like technical drawings or blueprints. These rely on outlining the edges of objects, instead of focusing on realistic lighting. The results are very clean, readable, and best of all: it's an art style that a programmer like me can handle.
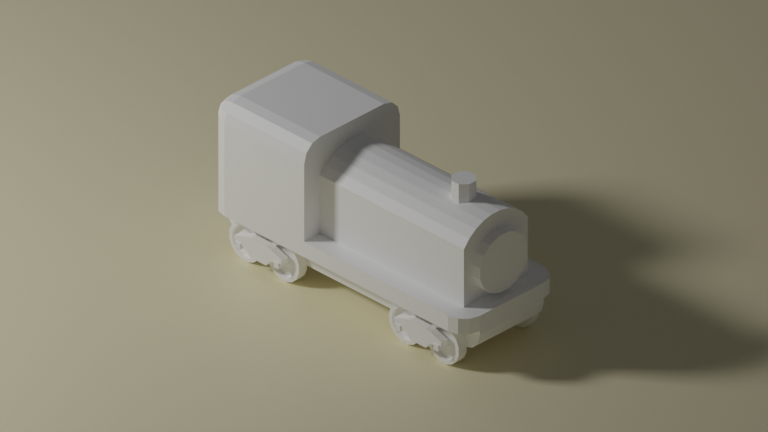
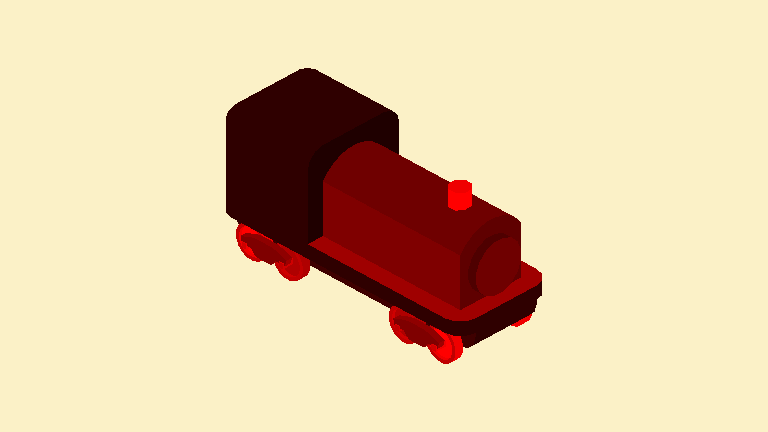
The easiest way to render edges is to use Roberts Cross, or Sobel operator. These algorithms essentially look at every pixel in an image, determining how different it is from its neighbours. If a pixel is very different from its neighbours, it must be an edge; if it's very similar, it isn't. To test this idea, we'll render a train model using fairly realistic lighting.
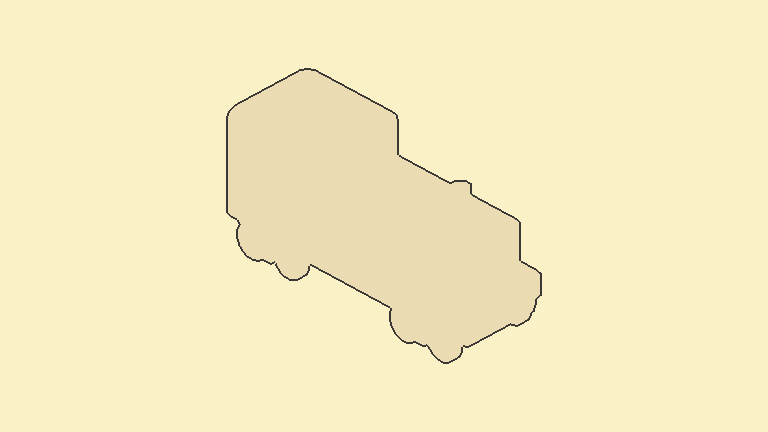
Then we pass that image into a Sobel filter to get this:
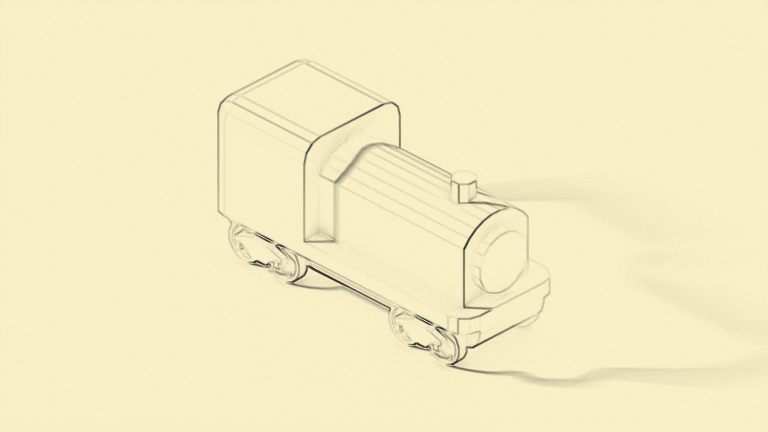
Not quite. We're able to highlight some of the edges that we want, but we're also outlining the shadow on the ground. Curve surfaces that have been approximated with triangles are also showing edges that we don't want.
There's some tweaking we can do to clean up this output, but that will only get us so far. Since we have full control over the image that is fed into our edge detection algorithm, we can pass any data we'd like. This means our 3D scene will be rendered with custom data to a texture the size of the game window, then a second render pass will use Robert's Cross to determine where the edges are before displaying the final result.
For example, passing the depth (the distance a pixel is from the camera's position) into our edge detection algorithm will outline any large changes in depth. This will draw an edge between foreground and background objects. To have fine control, the plan is to create custom section maps. These will be textures that are added directly to the model, where each section is painted a different colour. So any change in the section on the 3D model is also a change in colour for the edge detection algorithm to find. This gives complete control over where the edges will appear, even if it means we have to do some painting ahead of time.
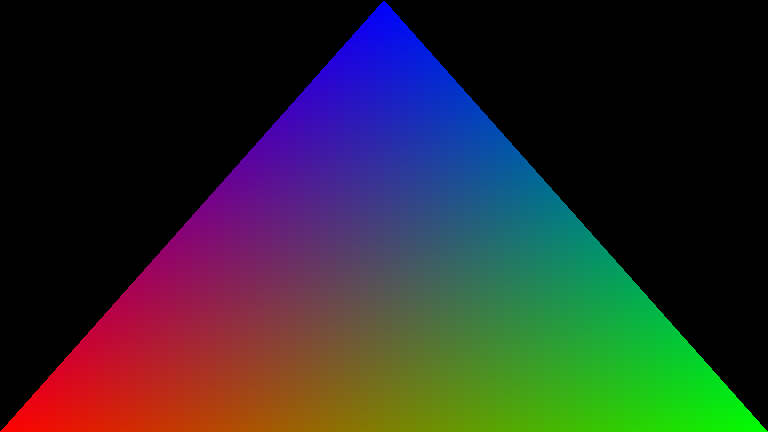
We'll start simple and render a triangle. The vertex shader translates from a vertex on the triangle to a position on screen, and the fragment shader will describe the final colour of each pixel. In our game engine, we'll create a graphics pipeline that renders to the swapchain. This is a special texture gets displayed to our game window. Skipping details since setting up graphics pipelines always involves a lot of boilerplate code.
Next, we'll load our 3D model from a GLTF file, which was created in Blender. Start by loading the vertex and index data to pass to the GPU.
For now, let's just hardcode the view and projection matrices in the shader. We'll figure that out later.
You'll have to concentrate pretty hard to see that's a train.
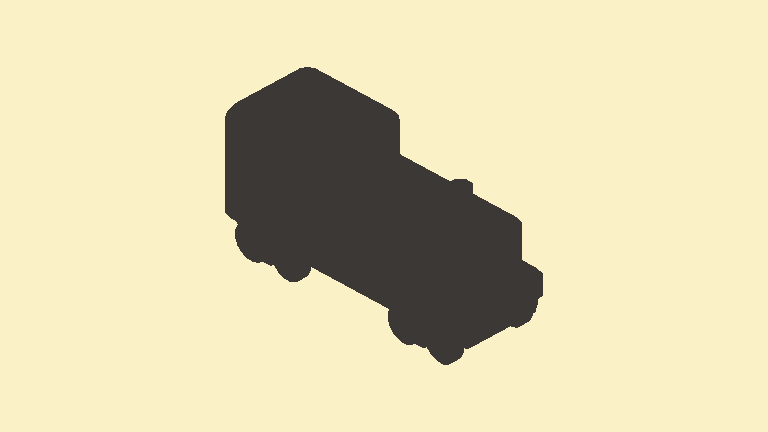
If we passed this into the Roberts cross operator right now, it would draw a ring around the blob, because those are the pixels that are very different from their neighbours. Next, let's load GLTF texture coordinates and directly display those UVs on the model, where the X coordinate will be shown in red and the Y coordinate in green.
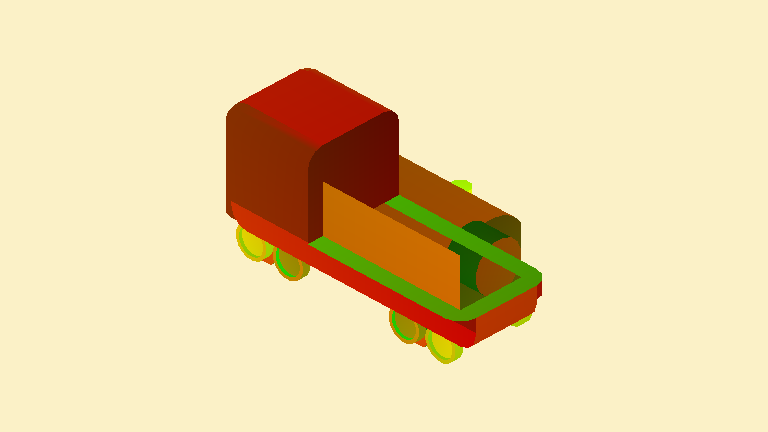
This shows UVs, but some triangles from the back are being rendered on top.
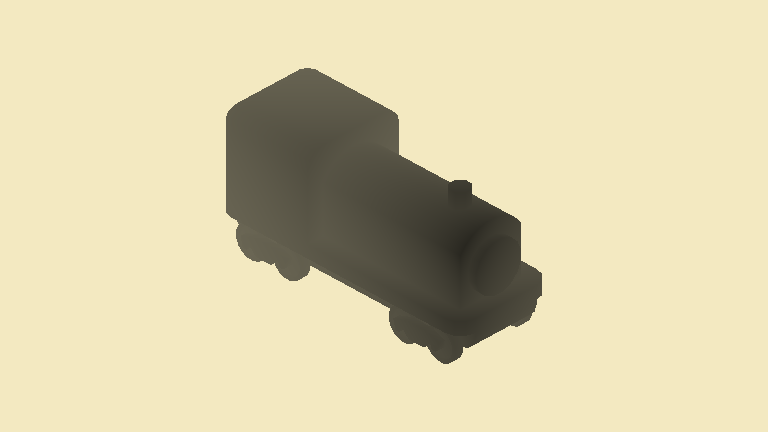
Must be that depth buffers are broken, so let's set those up. By now, we're reusing lots of helper functions we've written along the way. In this image, the closer a point is, the darker it will display. Still requires some squinting, but it's starting to look like a train in fog.
Next, a camera. This takes a position, target to look at, and a few other properties, then outputs a nice 4x4 view and projection matrices. These are used by our scene vertex shader to describe how to go from a vertex to a pixel position in the game window.
Turns out the depth buffer was not the issue for rendering order. When I hardcoded view and projection matrices, I assumed an OpenGL range from -1 to 1, but Vulkan uses a range from 0 to 1. Once we rewrite our orthographic matrix projection with that in mind, it works!
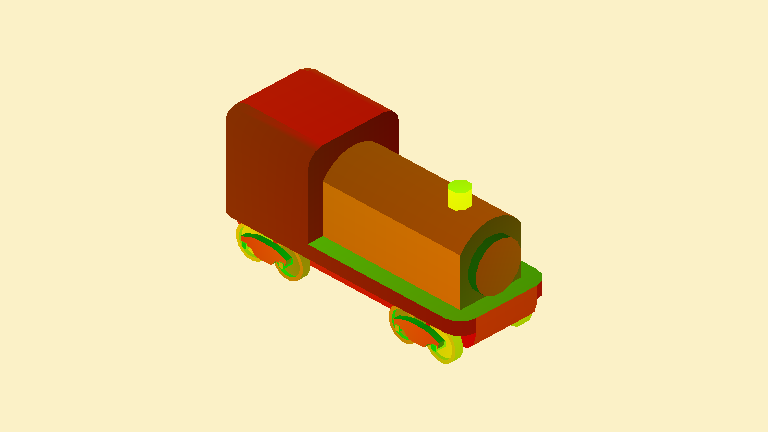
This displays the coordinate that we need to sample textures at. Should be simple, but every time we sample a texture our shaders crash. Unfortunately, debugging shaders can be painful. After banging my head against the wall, we can see SDL puts samplers and textures in resource set 2. HLSL defaults to set 0, unless it is explicitly given. So, our shaders try to access textures in the wrong place.
This may look wrong, but that's actually how the train is modelled in Blender.
Right now, the scene is being rendered to the swapchain to output to the window. To set up screen space post processing effects, we'll render the scene to a texture, then pass that texture into another shader to do the final edge detection and output to the swapchain texture. Good thing we wrote some reusable functions as we went along, so this is mostly a repeat of the previous shaders and pipelines.
Once there are multiple objects in the scene, depth testing won't be as effective, because there will be colliding foreground objects. At that time, we'll switch to using object IDs for the outlines.
Finally, let's do edge detection on the section map. Use a 2px distance for the depth edge and a 1px distance for the section edge to create a clean outline with interior details.

Once we add in the spinning camera, the effect really comes to life.
This was a bit of an adventure to get here, but the result is promising. We'll keep iterating as we make the rest of the game. Next time, we'll add support for multiple object types and run some performance tests.
More blog posts coming soon.